Ready to move your site from WordPress.com? First log into your new Hosting Account and install wordpress. If you’re using Go Daddy, they have a Quick Setup option in the Hosting Control Center. This should take about 5-20 minutes while you finish exporting the old site. (If you haven’t set up a Hosting account yet, call the Go Daddy support line to have them help you with the initial setup and selecting the right plan for your site.)
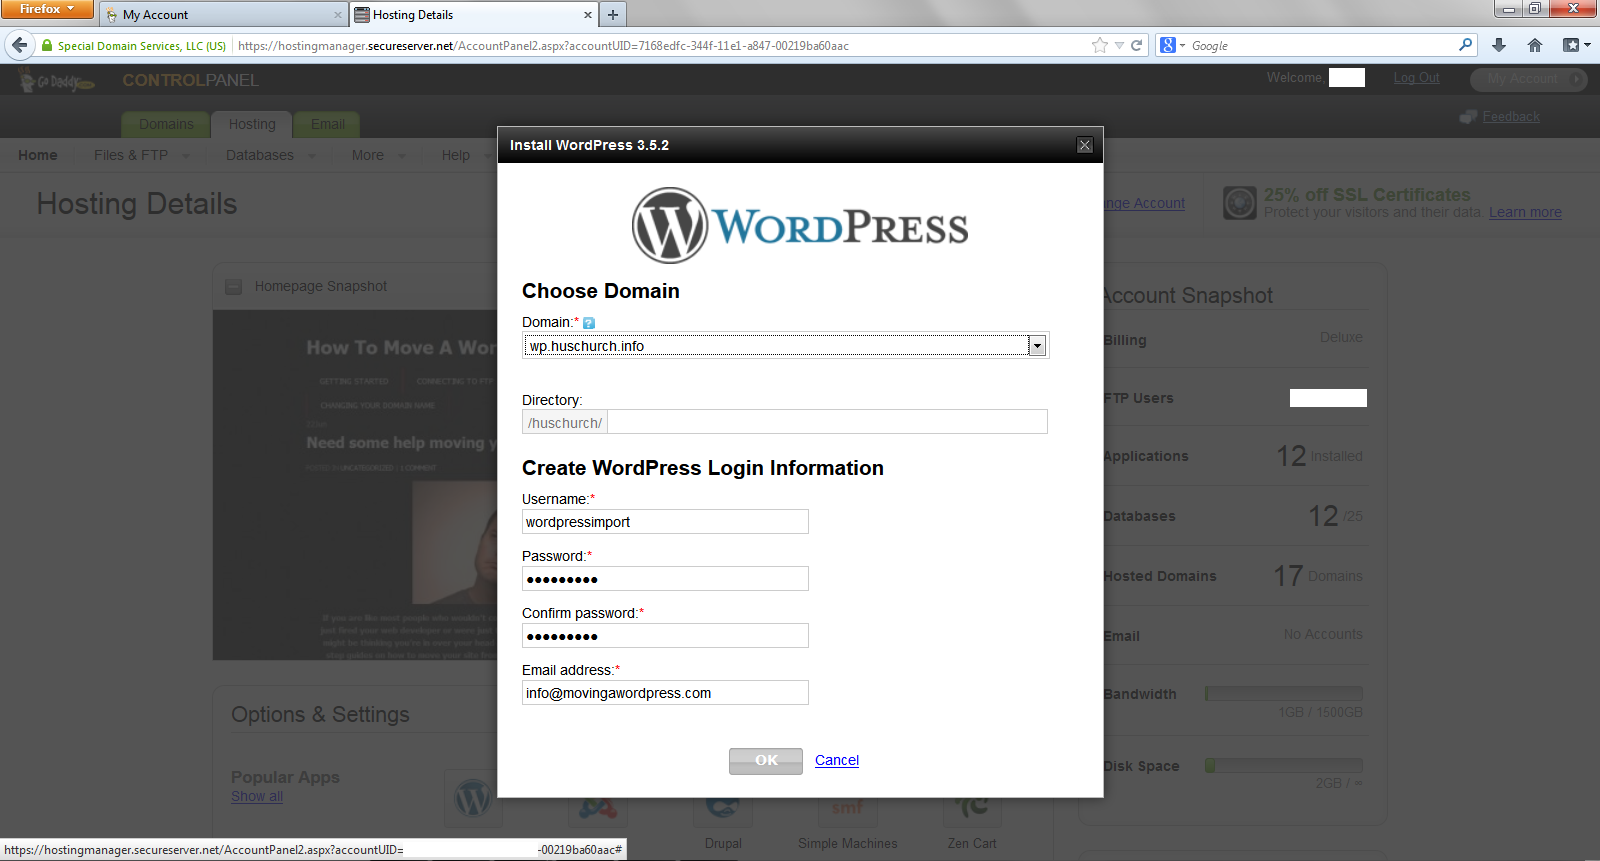
1. Install WordPress on your Hosting Account, unless you are installing this to a folder, leave the “Directory” field blank and create an Admin Username/Password for the site.
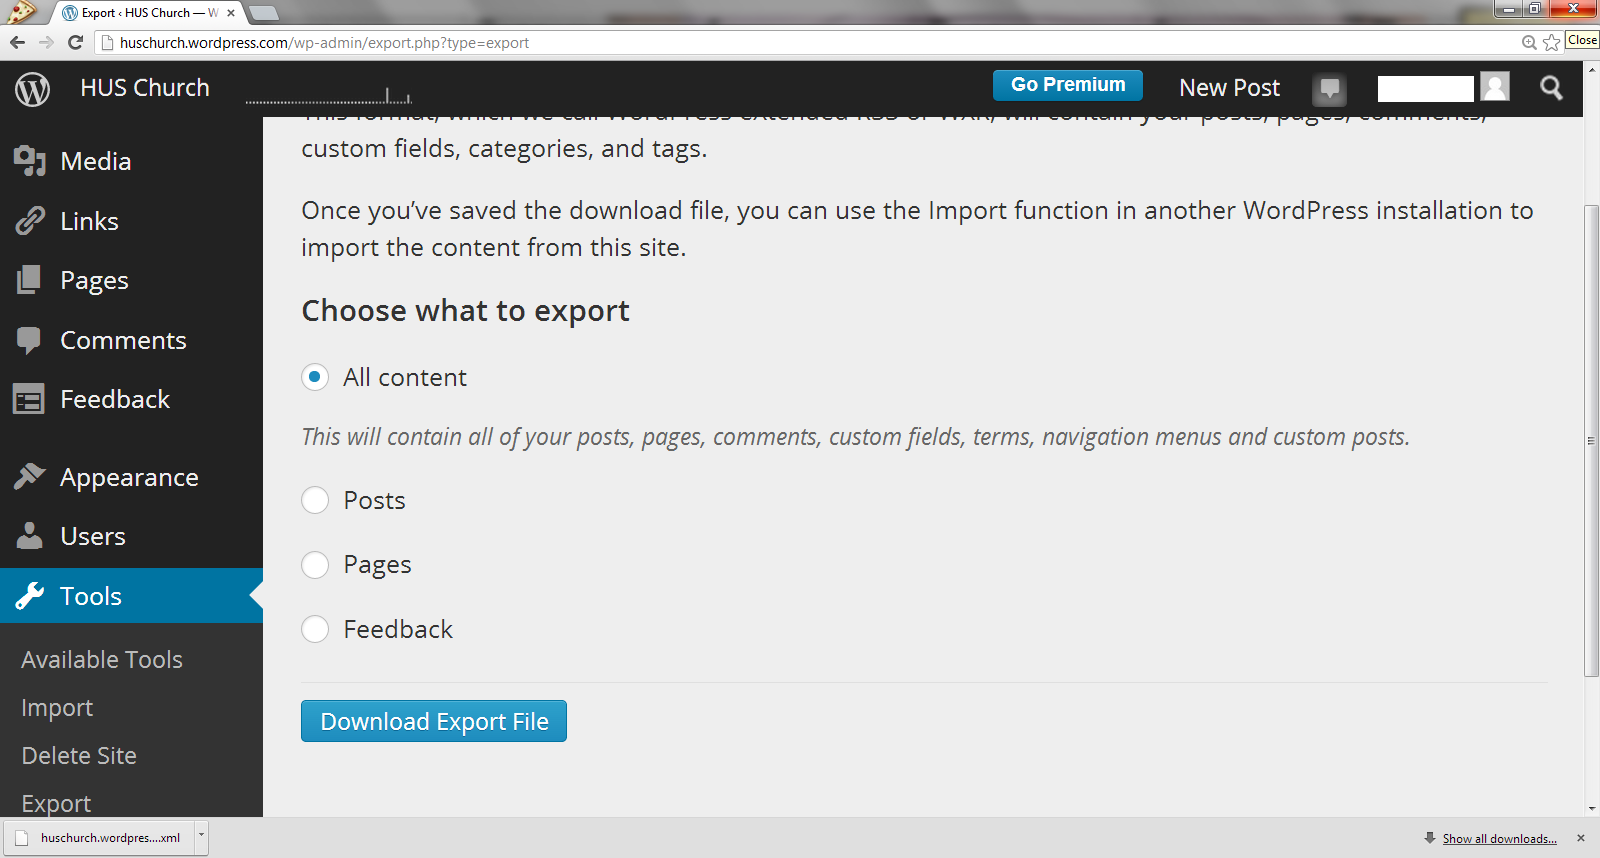
2. Next log into your WordPress.com admin, “http://yourwebsite.wordpress.com/wp-admin”. Under the “Tools” menu, select the option to “Export”.

3. Select “Export” again as it is the free option, then select to export “All Content” and click the button “Download Export File”. This is a .xml file you should save to the “WordPress” folder you created on your desktop.
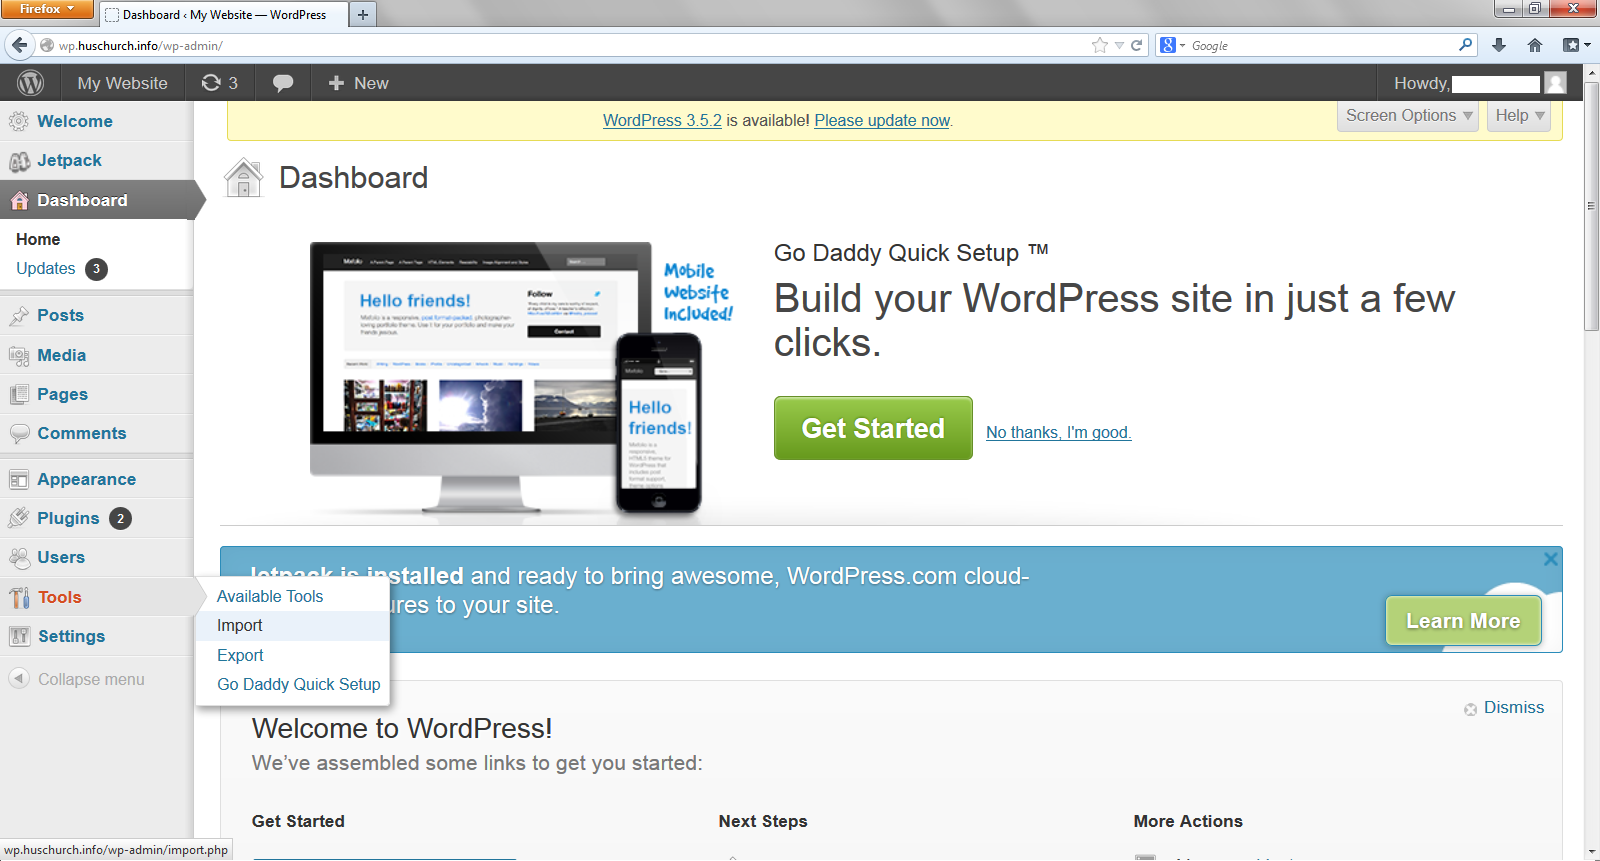
4. After your new WordPress site has installed on the new hosting, log into the wp-admin. Under the “Tools” tab, select the “Import” option.
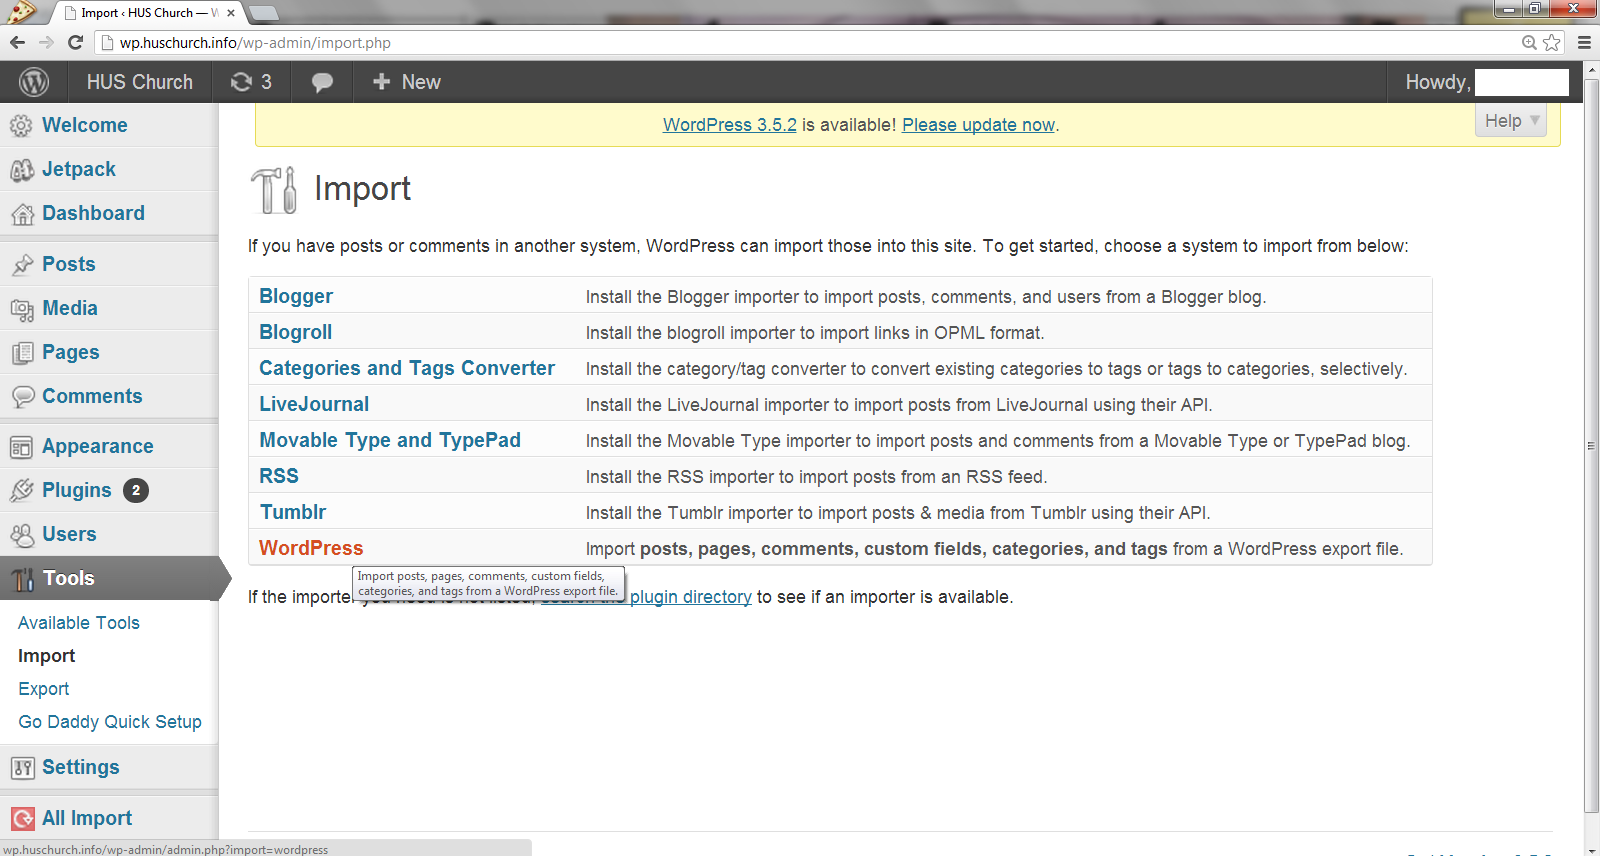
5. On the “Import” page, select the “WordPress” option from the list of systems.
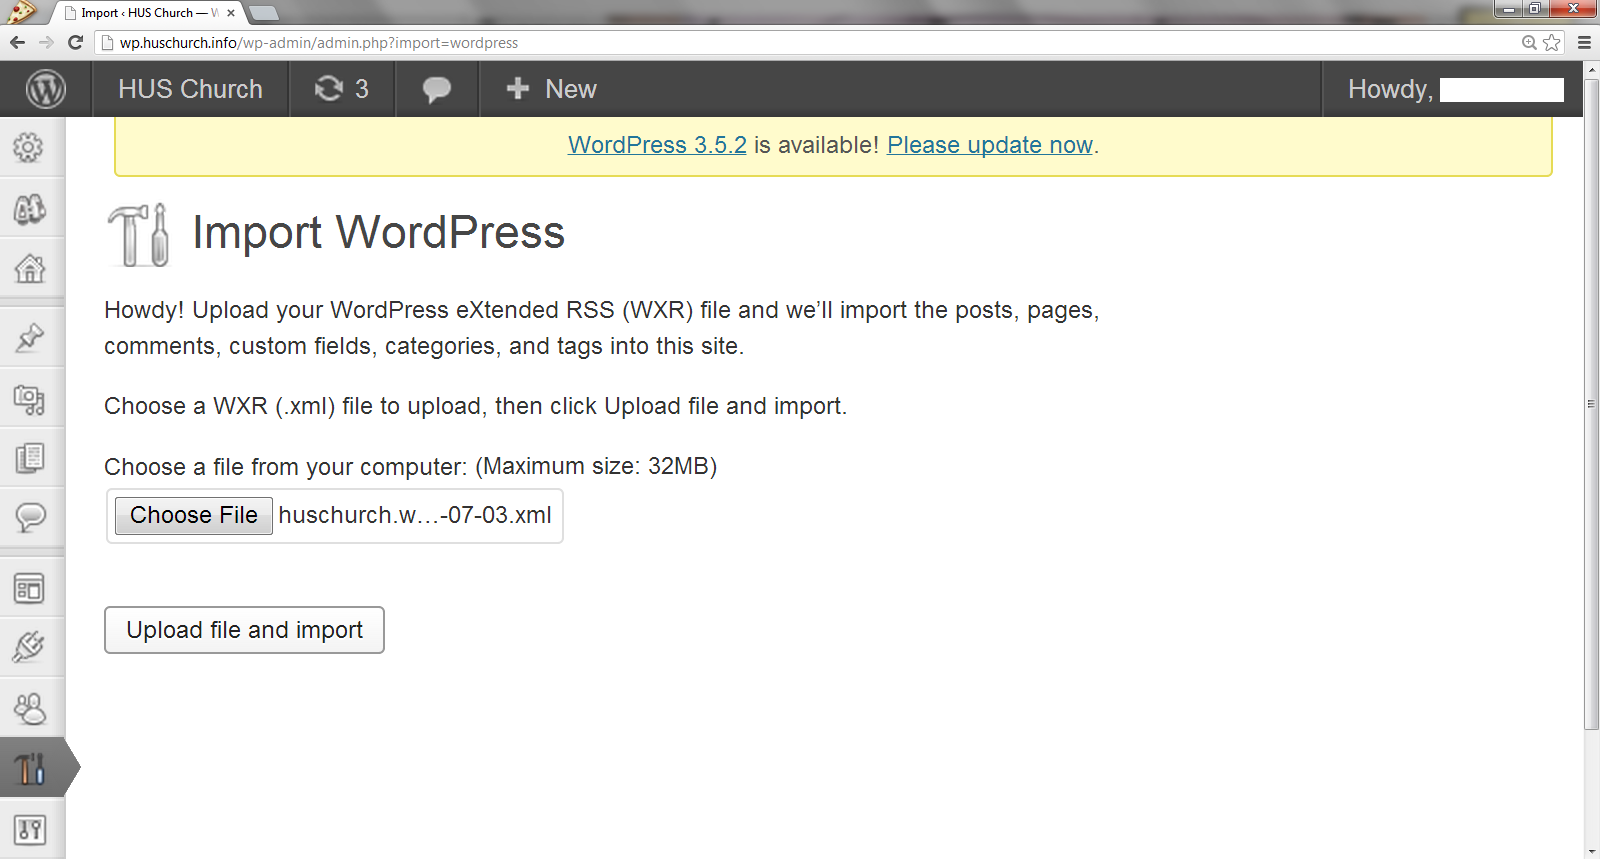
6. Browse your computer for the “WordPress” folder you saved the .xml file to, once you’ve selected the file click “Upload File and Import”.
7. On this final page, make sure to check the box “Download and Import File Attachments” and then select the “Submit” button.

Congratulations! You’ve just moved your WordPress.com site, you will need to re-install your theme once you have imported your .xml file, but all of your pages and posts are available. *Note: You may need to update your permalinks after importing this file, how to update permalinks.